1. ACCEPTING PAYMENTS
2. TAX
3. CHOOSING LAB or SELF-FULFILL FOR PRODUCTS
There are 2 options for collecting store payments: Pass is the seller / The Photographer is the seller.
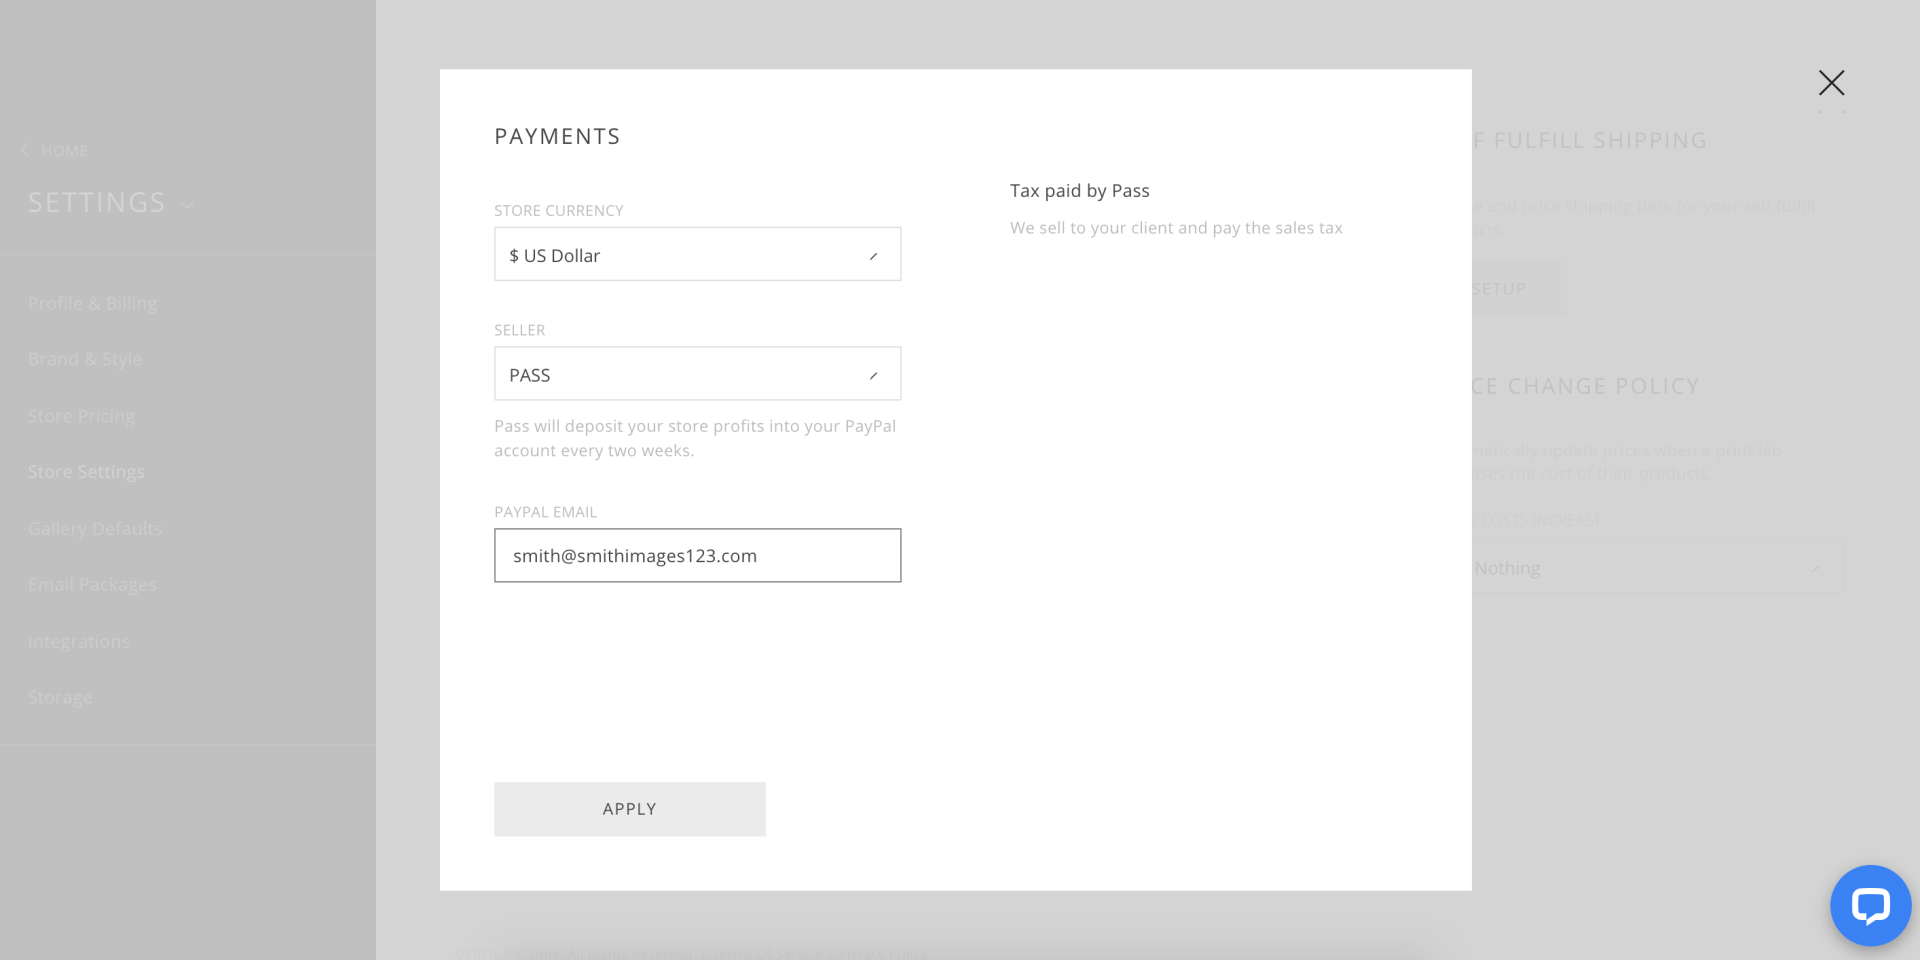
PASS IS THE SELLER
This is the default option.
When using this option, You can only lab fulfill. Pass takes care of everything related to accepting payments and paying the sales tax:
If you are located in the United States, enter your Tax ID. For US photographers we will issue a 1099 form at the end of the calendar year.
THE PHOTOGRAPHER IS THE SELLER:
When choosing this option:
Some cases require you to be the seller:
To set yourself as the seller, start by choosing PayPal , Stripe, or Offline:
OFFLINE
Choose Offline if you wish to accept cash, checks or any other payment method. Orders will be placed on hold and will require your approval.
Click Setup to enter a message to your client. Explain how you will expect to get the payment; your client will see this message after placing an order.
PAYPAL OR STRIPE COLLECTION
Please follow the instructions here to set up your PayPal or Stripe.
2. Tax
When you choose to be the seller, you should pay the sales tax. Start setting up your tax by choosing one of the tax templates:
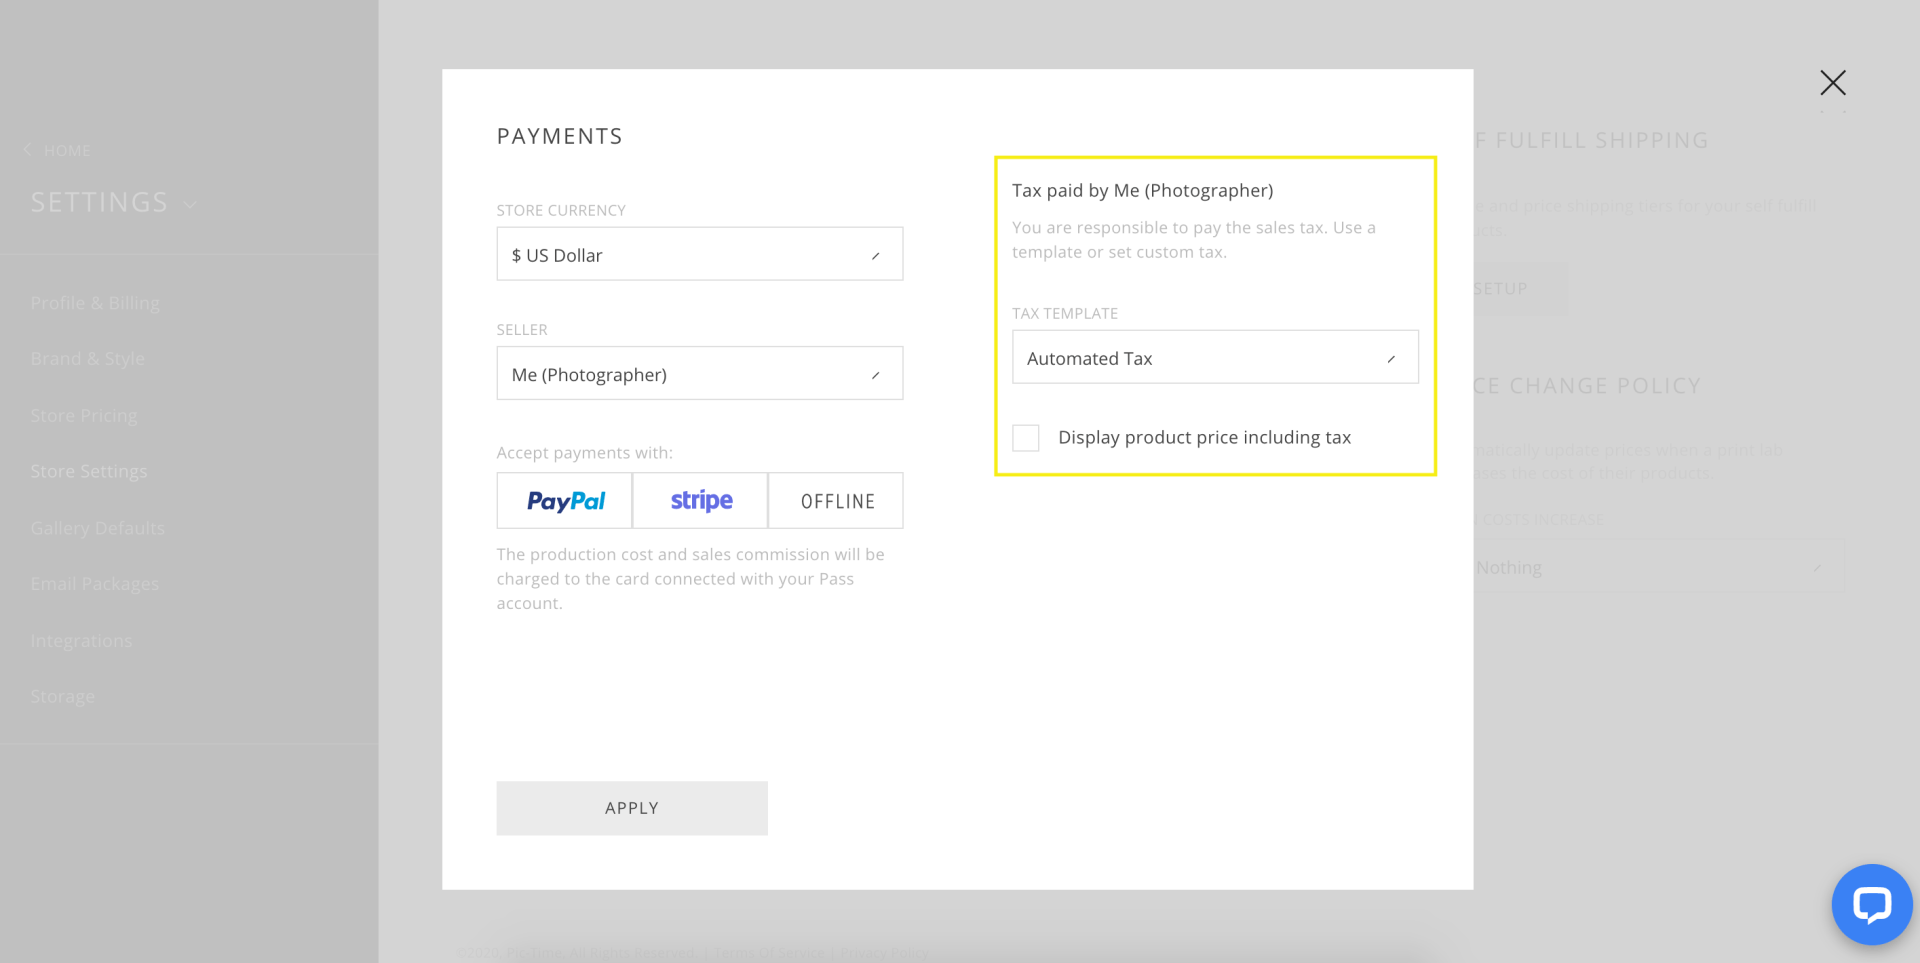
AUTOMATED TAX
It is recommended to use Automated Tax. The Automated Tax template has all the required info so your tax will be calculated for you.
Automated Tax is available only in the United States, Canada, Australia, European Union and Israel.
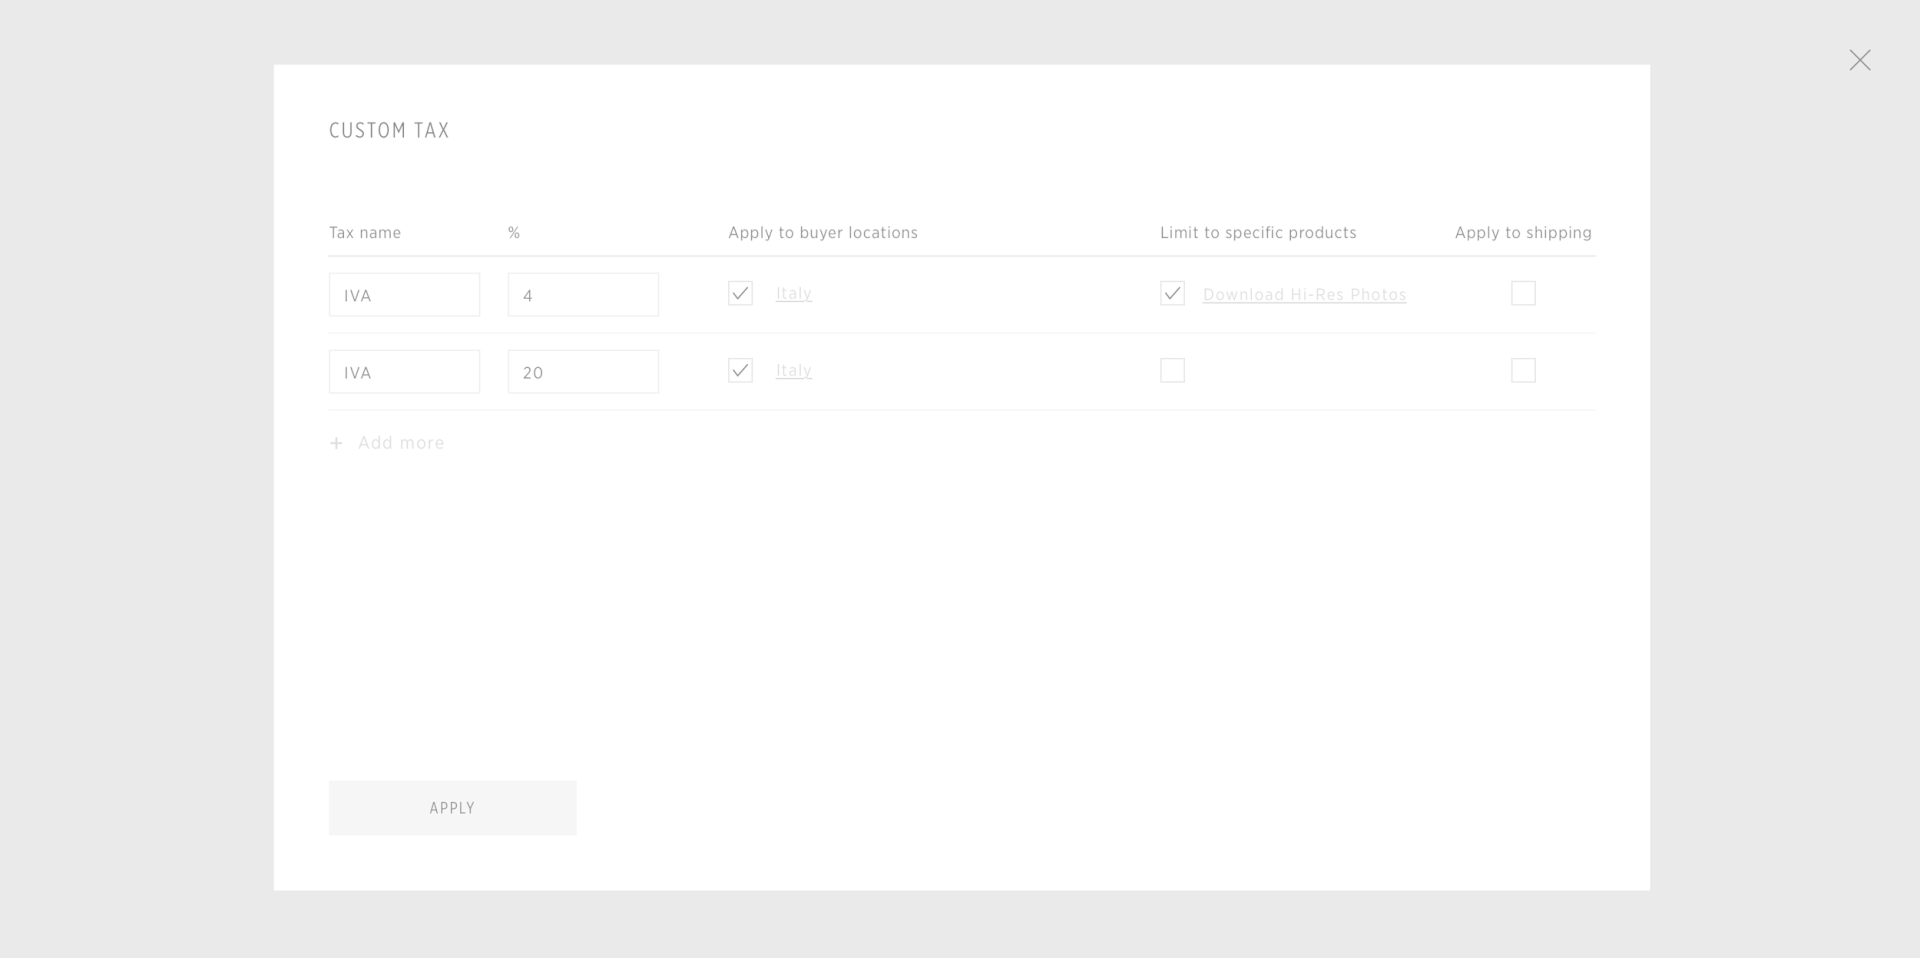
CUSTOM TAX
If automated tax is not available in your location, choose Custom and click Setup to set your tax manually.
Note: In the tax table, items on the top will override the items below, so place the specific taxable items / locations on the top. See the example below of a specific product (High-Res downloads) which has a lower tax rate:
TAXJAR
For complete automation of your tax reports, you can use TaxJar.
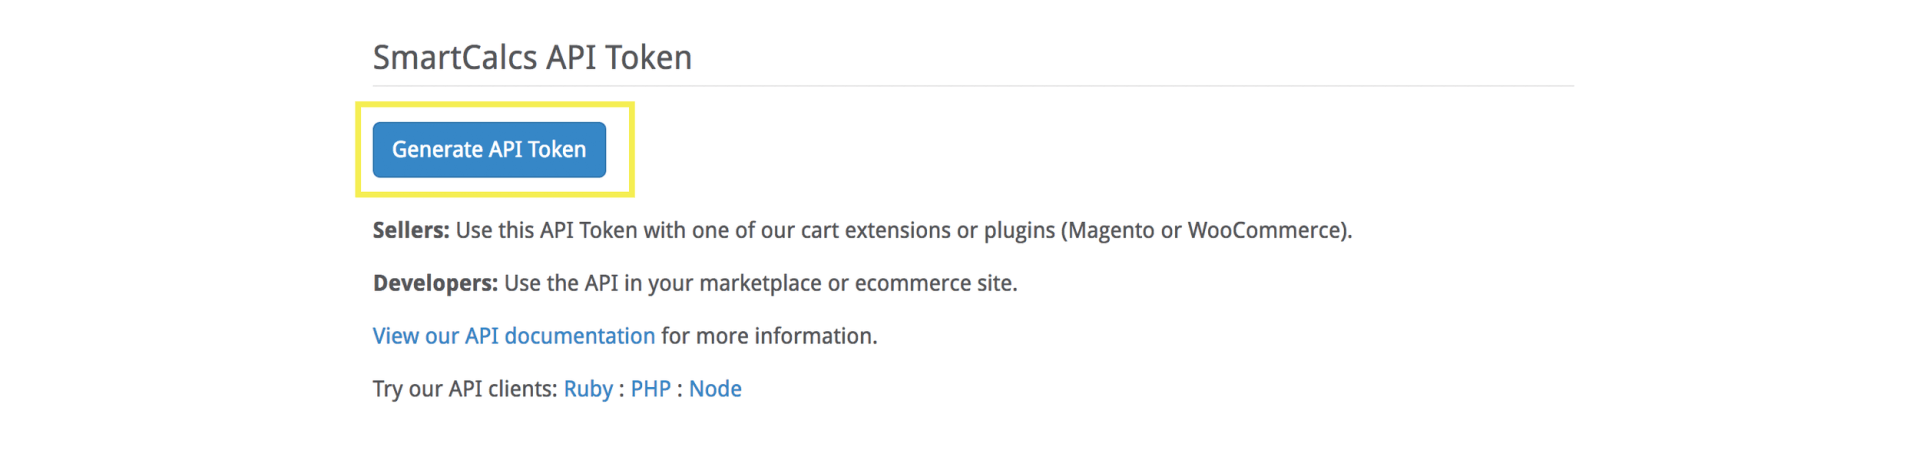
If you do not have a TaxJar account, go to www.taxjar.com and create an account. Then, on the Welcome screen or in your TaxJar account, click on SmartCalcs API. Then click on Generate API Token.
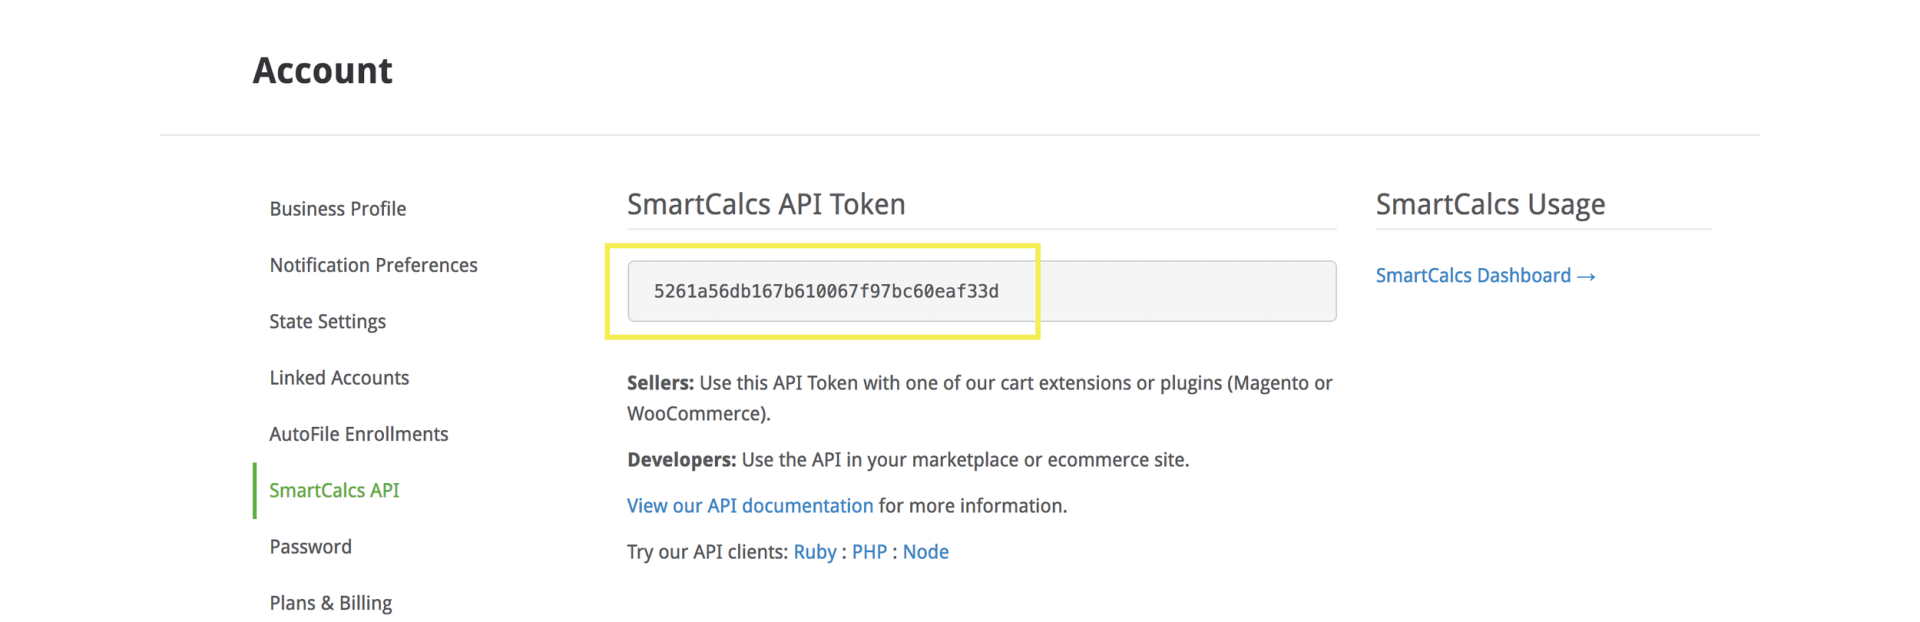
Copy your API Token
In Pass, click Setup and paste the API Token.
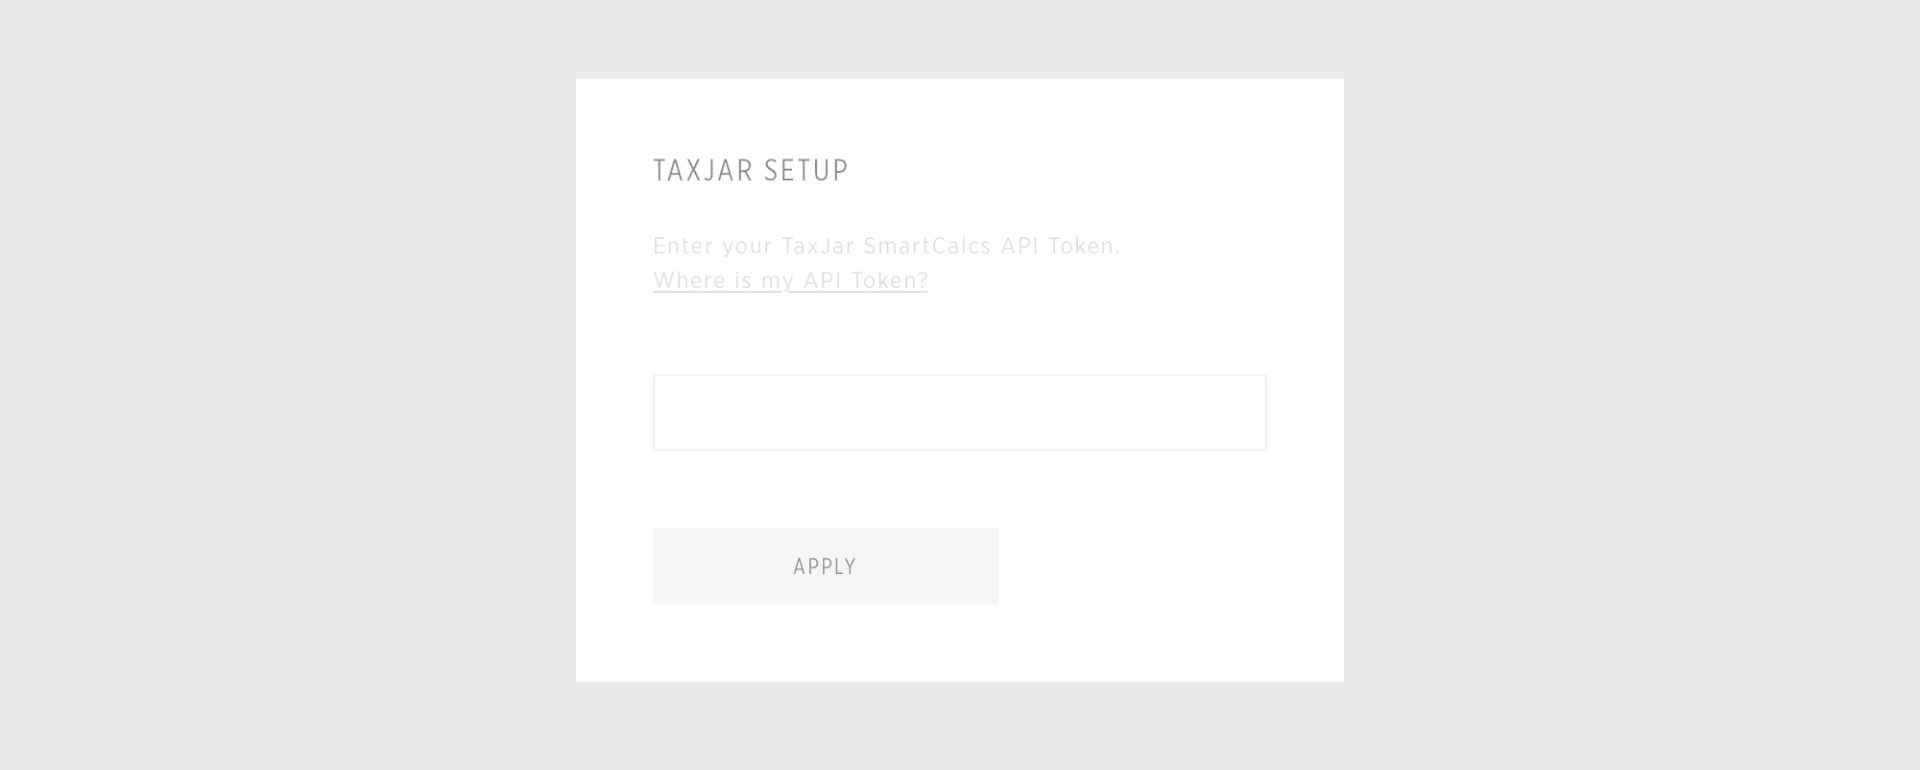
Once you’ve added the API Token, your TaxJar account is ready to go. Pass will deliver all the sales and tax details to TaxJar. Then, in your TaxJar account, you can get your automated tax reports.
NO TAX
Choose No Tax if you want to handle your sales tax by yourself. If you choose this option, there will be no mention of sales tax in your Pass store.
Use this option only if you are sure and know that it is legally allowed for your organization in your country to do so.
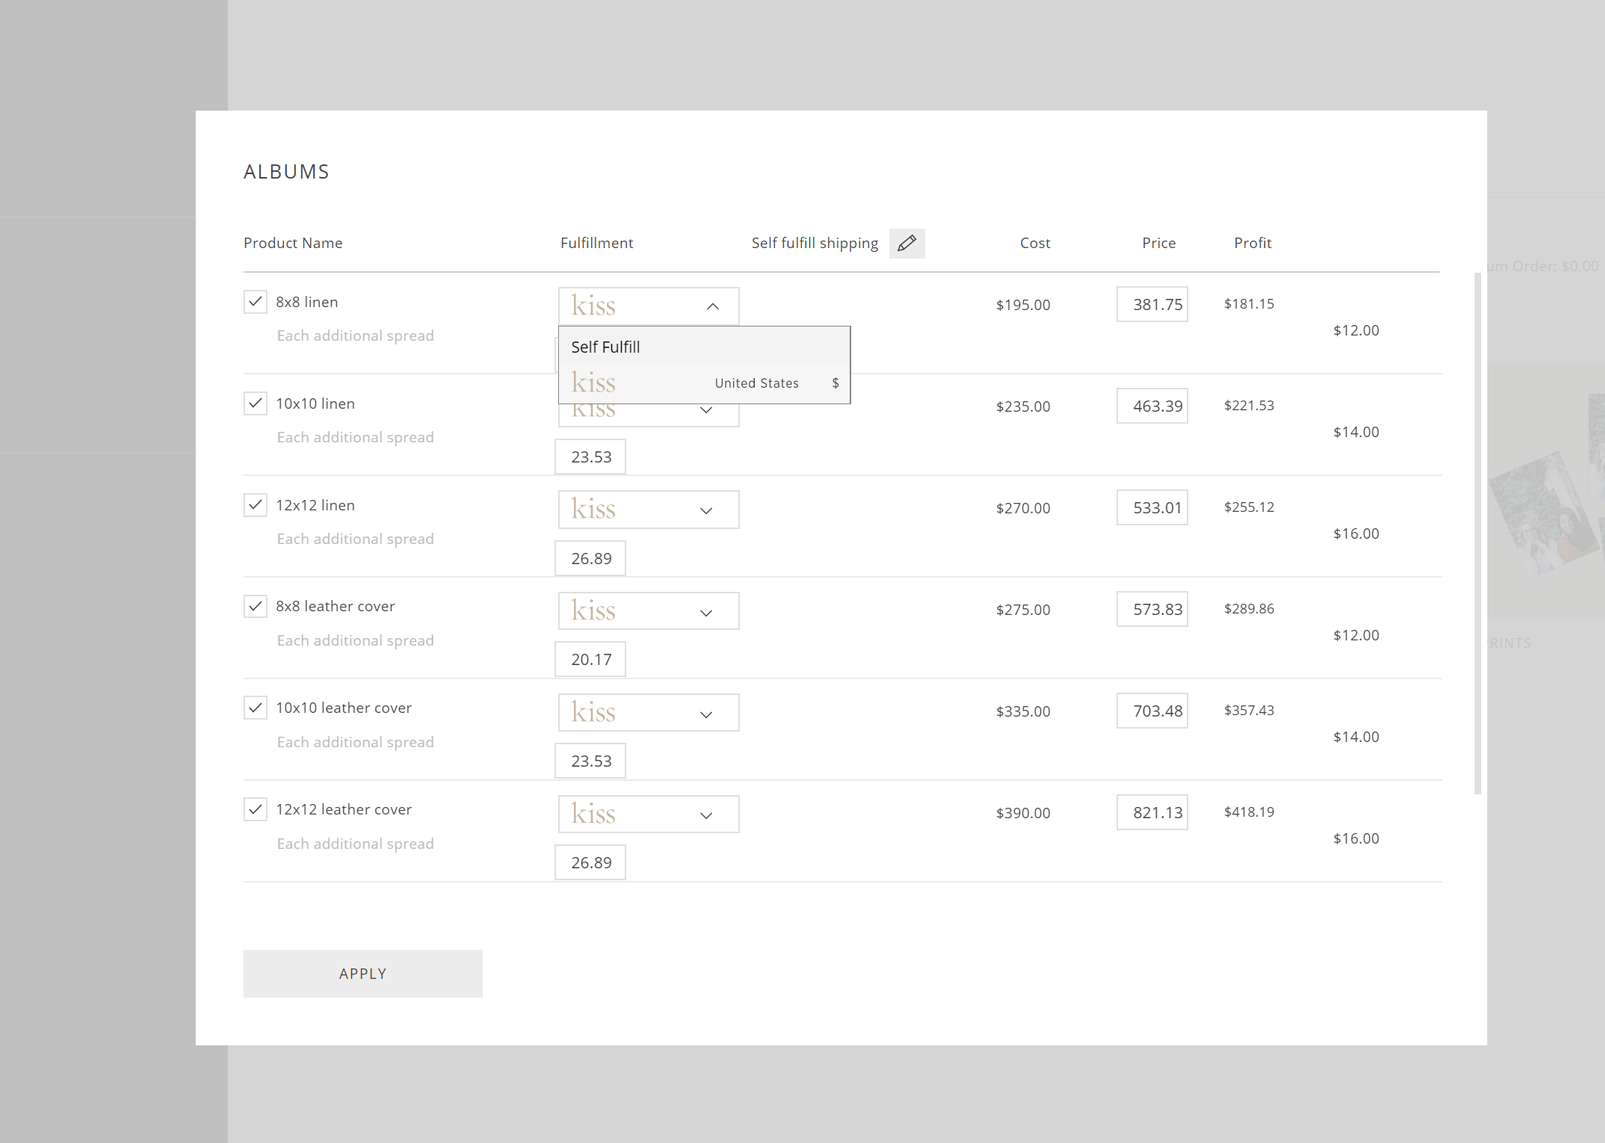
3. Chosing Lab/Self Fulfillment for Products
When you’re done setting up your payment and tax, go to the Store Pricing, choose a lab or self-fulfillment and setup the prices.