

When adjusting the watermark settings, you will need to set-up your general watermark settings first, then you can disable or enable the watermark in each gallery. You can also control the watermark per each gallery collection and gallery user type.
* Please note when using PASS as your lab the Watermark feature will not be enabled on prints ordered through PASS or visible on your high-resolution downloads.
General Watermark Settings
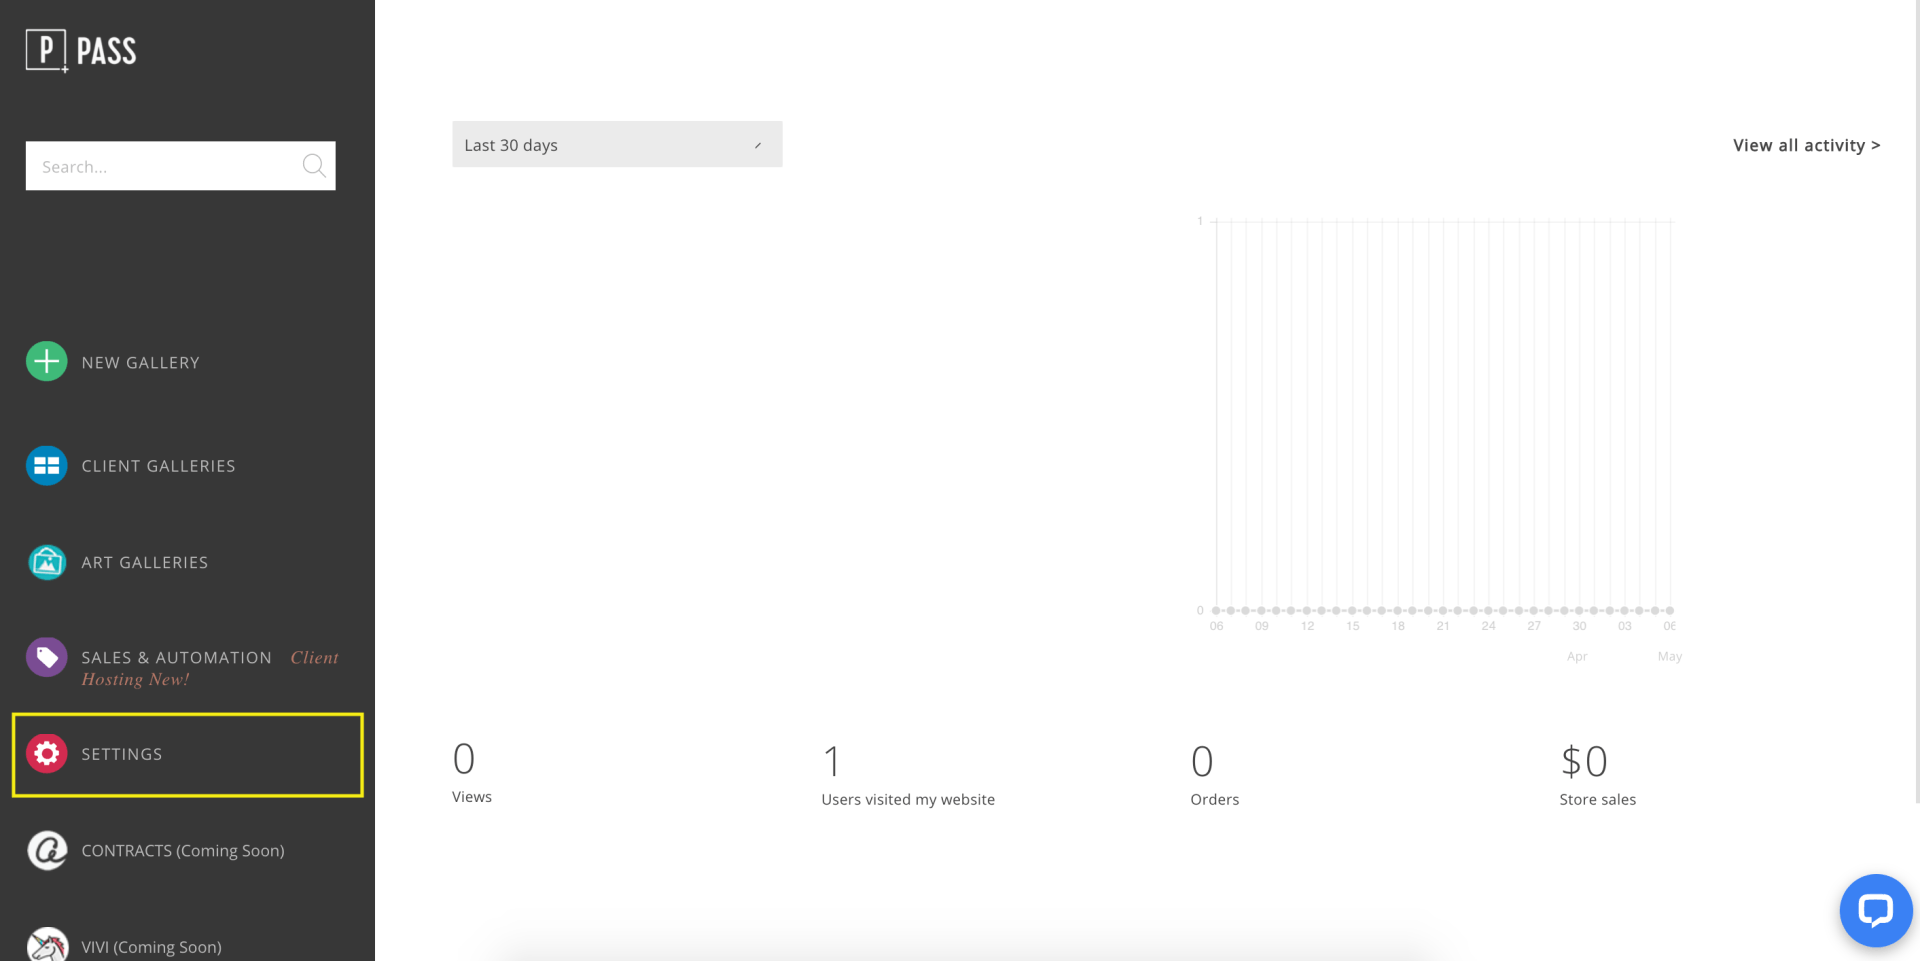
Click Settings from the main dashboard.
In the Brand & Style tab, upload your Watermark Image. Please upload a PNG file with a transparent background.

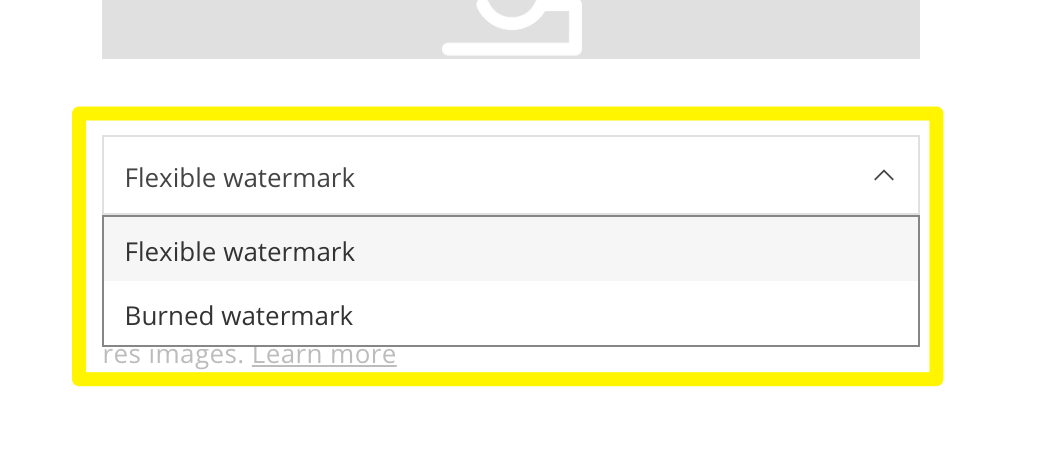
Select whether you would like a Flexible or Burned Watermark. A flexible watermark can be enabled for various scenes and user types within the gallery. A burned watermark is permanently embedded in all low-resolution images.
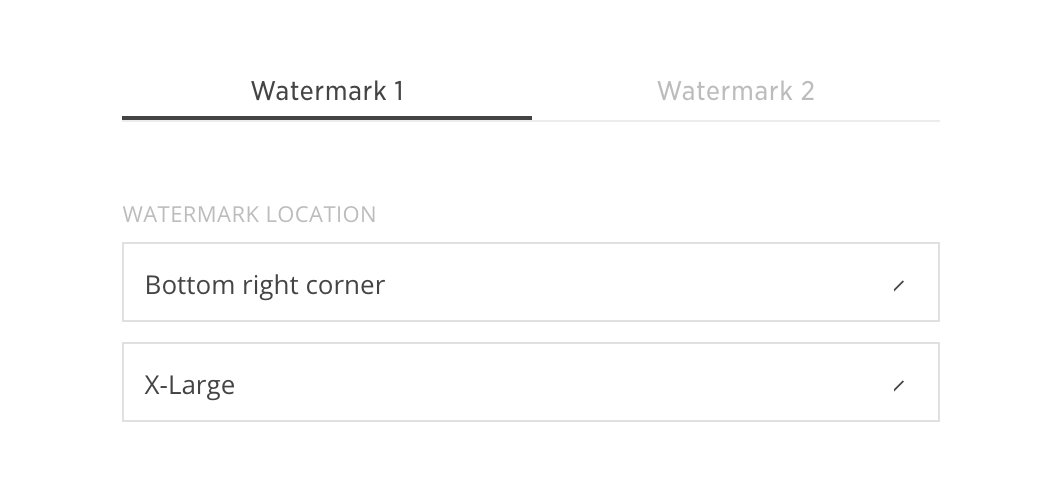
Select your watermark profile and choose the position and size of the watermark on your photos.
Fit size: watermark will fit the longest side of the photo.
Fill size: watermark will fit the shortest side of the photo.
Check the box to choose where you want your watermark to display. You can choose from Web-size downloads, Shared photos, Gallery and Store.

Now that your general settings are set-up, you can enable/disable the watermark for each gallery in the Gallery Settings.
Gallery Watermark Setup
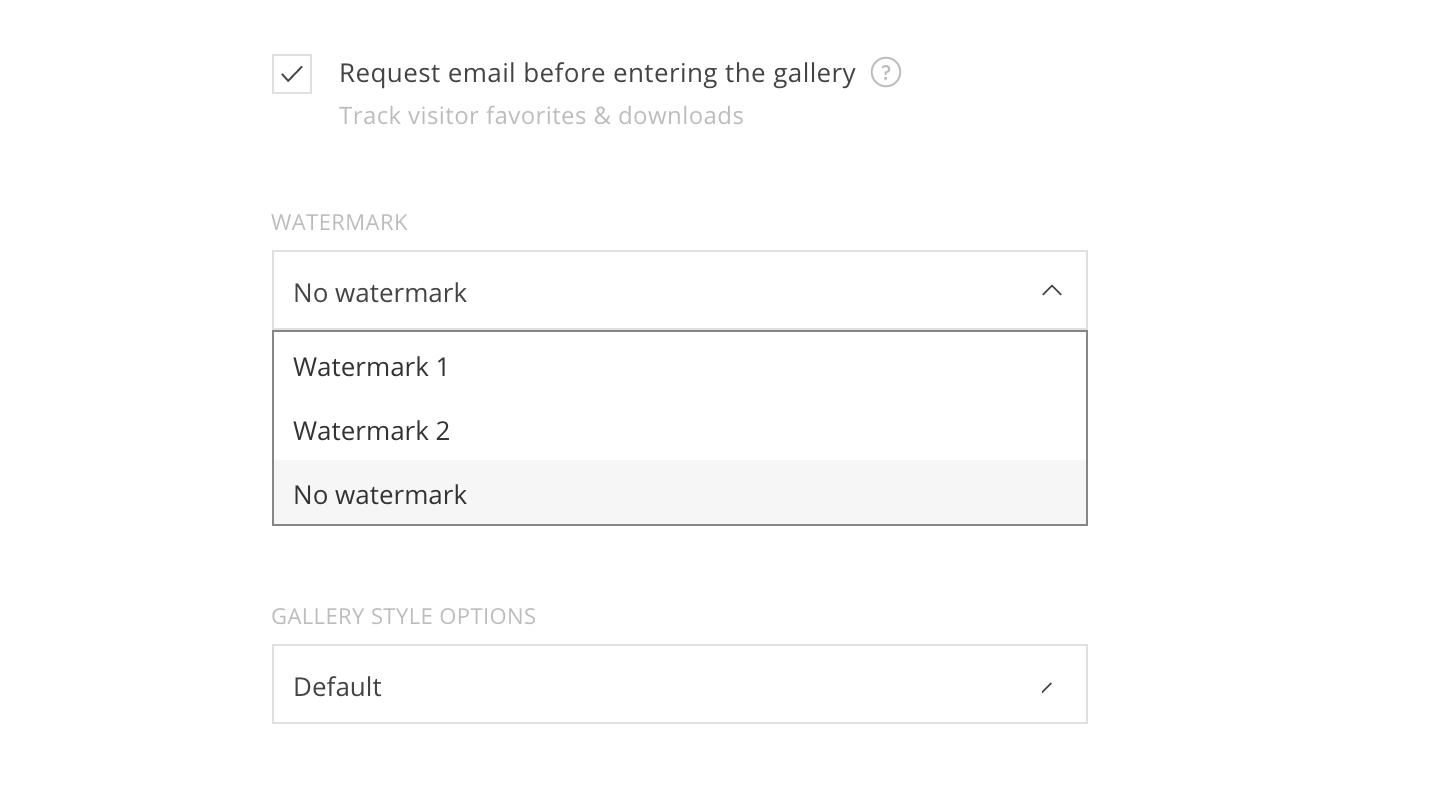
In the Gallery Settings tab of the gallery, you can choose the watermark profile, or no watermark.
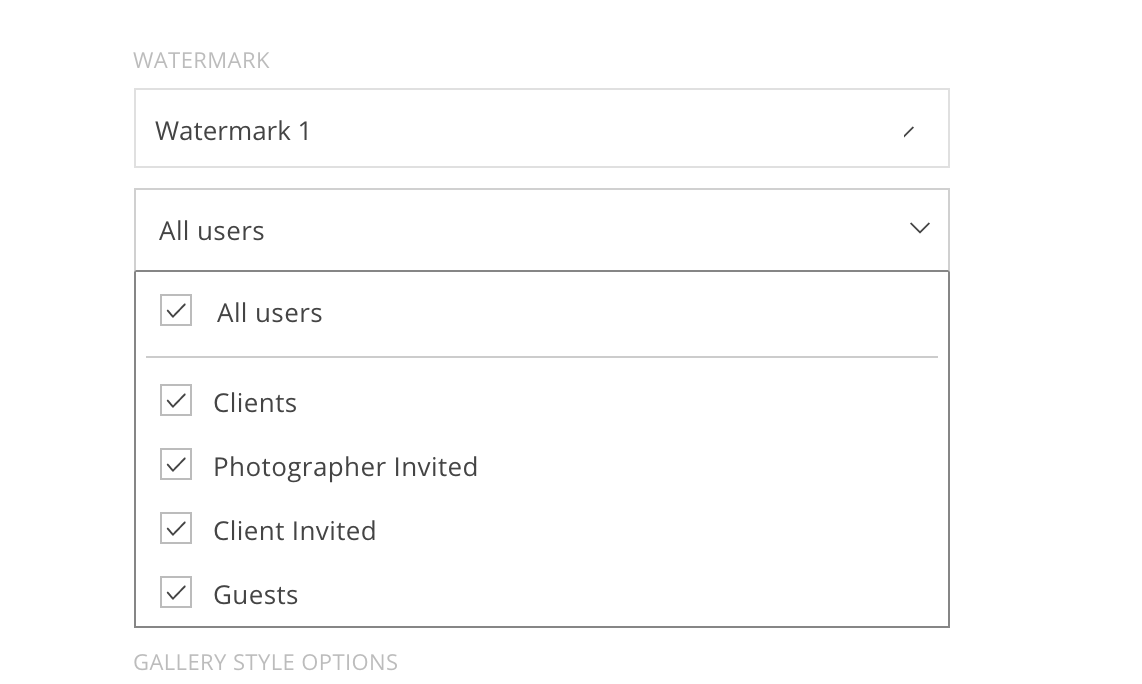
Select to display the watermark for specific user types.
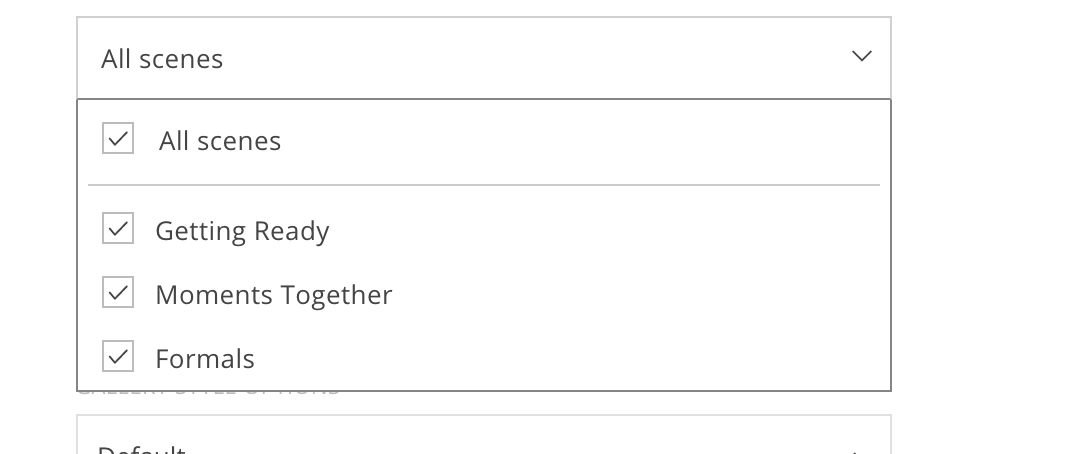
Select to display the watermark for specific collections.
That’s it! Your watermark is now applied to your gallery.


