

The Manual Coupon Campaign can be used to offer your client an individually customizable discount. This means you can create a one-time offer for any reason you choose, each time. This Campaign provides you with an efficient way to edit the template differently each time you assign it to a gallery. If you are looking for a Sales Campaign that doesn’t need to be modified each time it is used, we suggest you consider using the General Coupon Campaign instead.
To get started, click on the Sales Campaigns > More campaigns
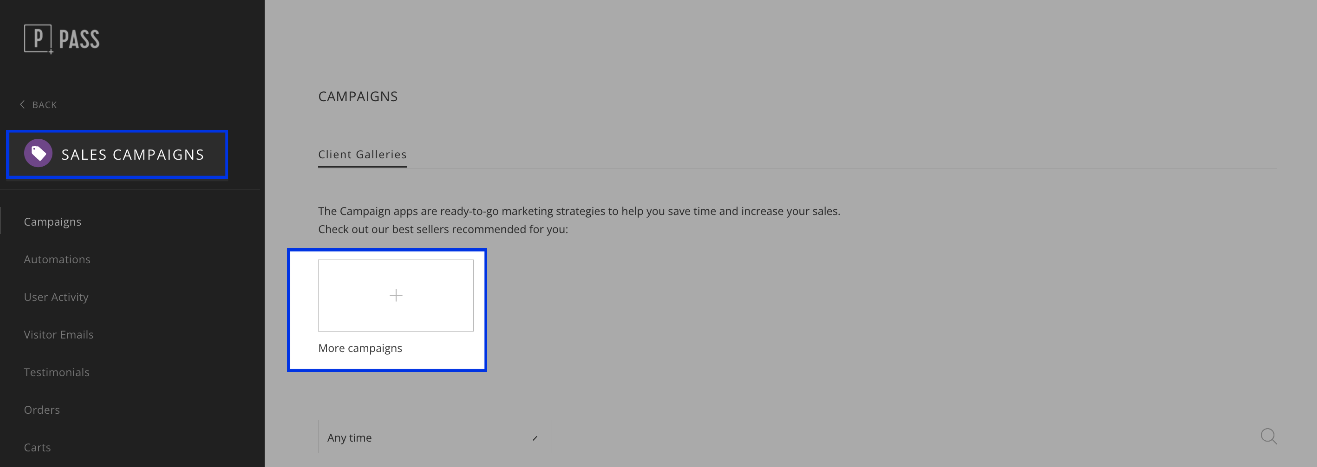
Under the Campaigns tab select to add more campaigns and choose Manual Coupon.
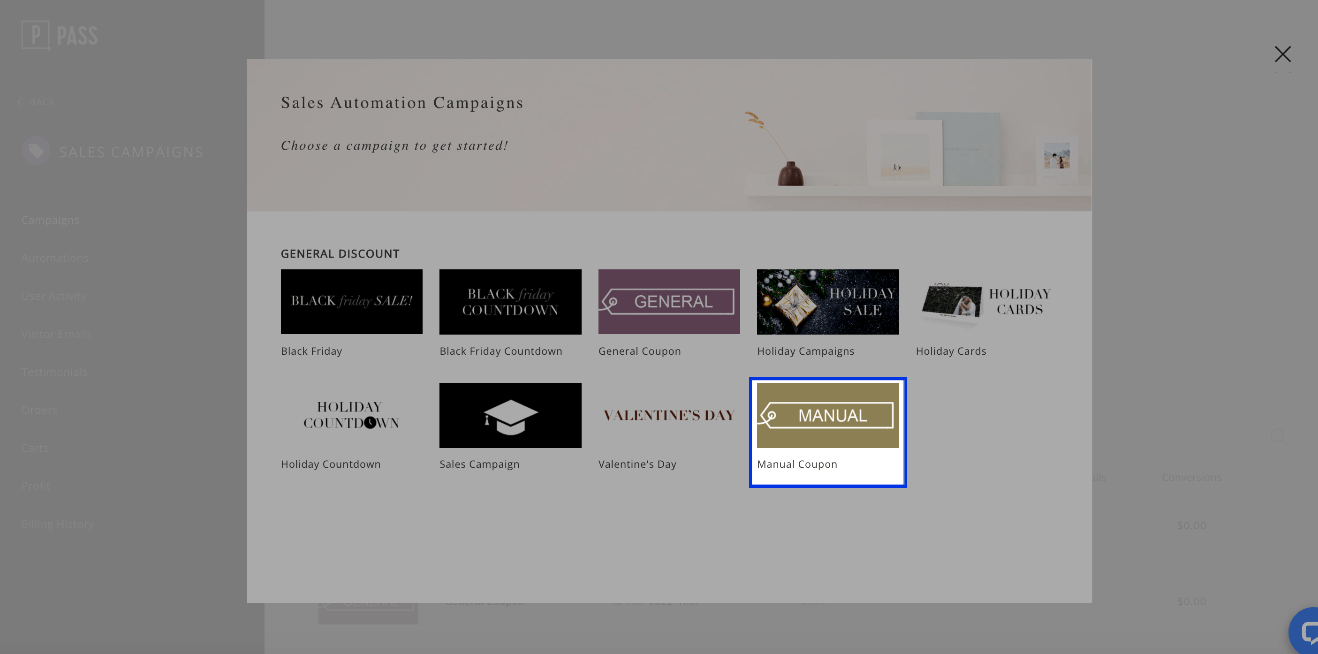
Select Install Campaign. Name it or keep it as Manual Coupon, then click Add Automation Campaign.
Start by deciding whether you would like to offer store credit for this campaign and how you would like that store credit distributed between the users. You can choose for the full amount to be allocated to each recipient individually or for the full amount to be shared between all of the recipients.
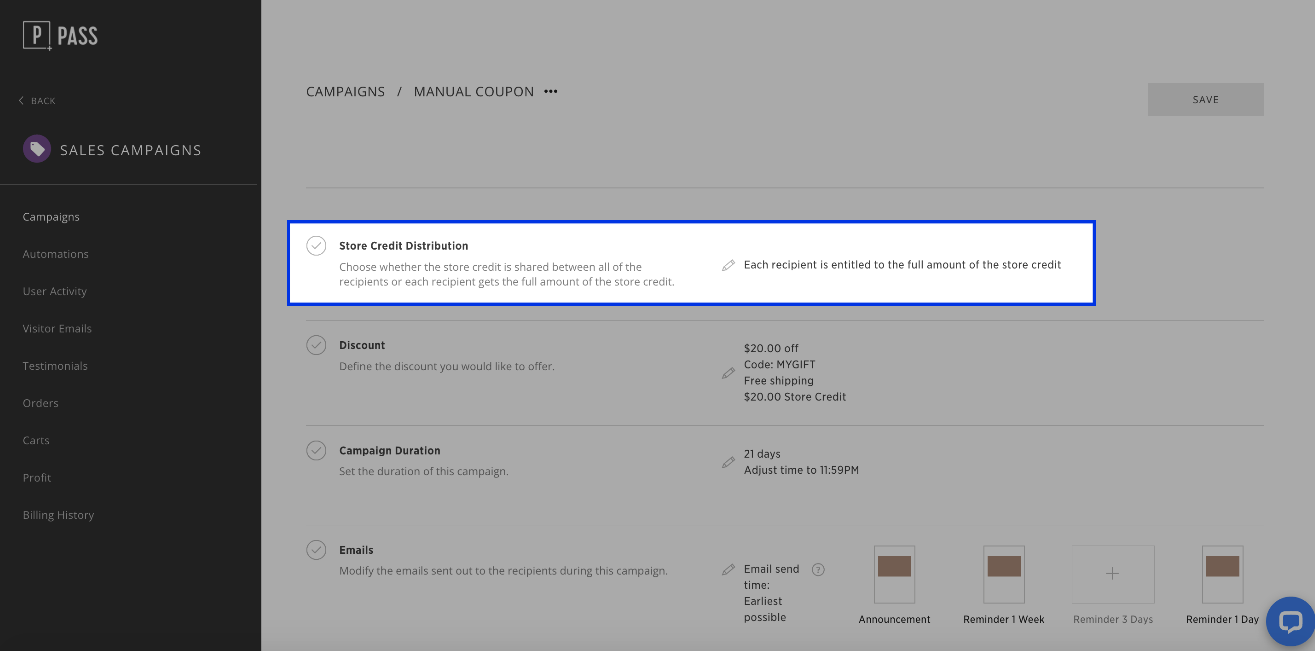
By default, each recipient is entitled to the full amount. However, can choose for the credit to be shared between all recipients by check marking Apply the store credit collectively for all recipients.
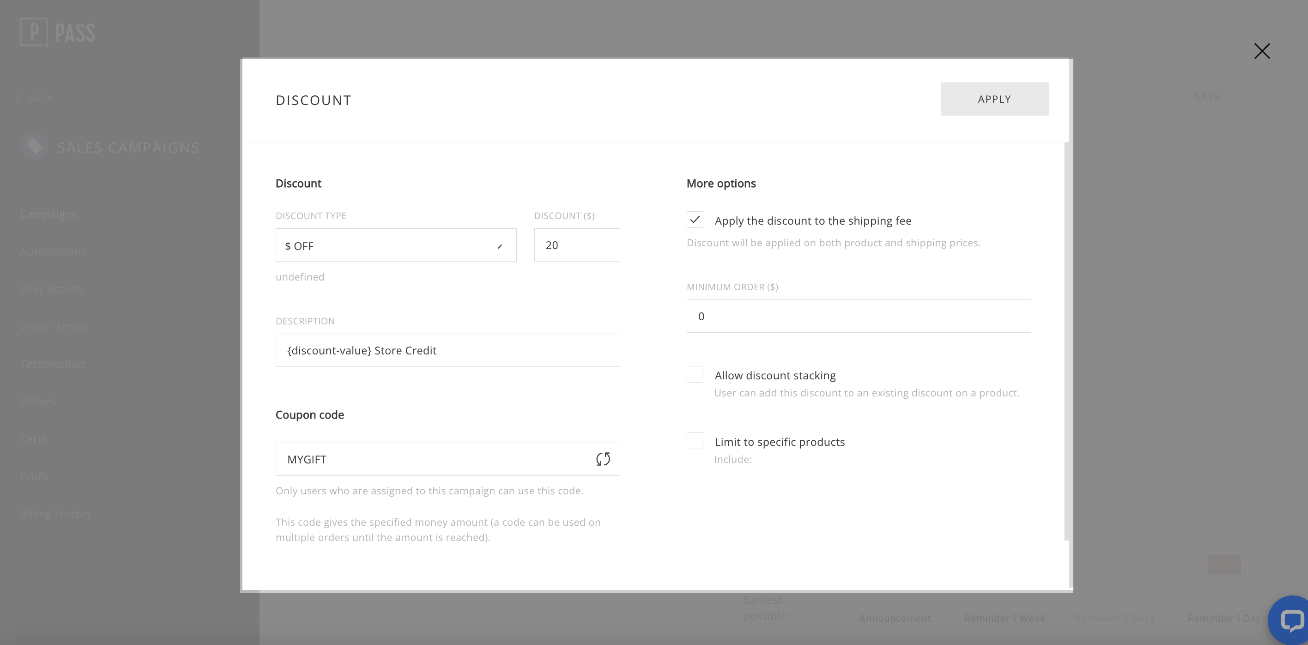
Now you can customize your discount type and amount.
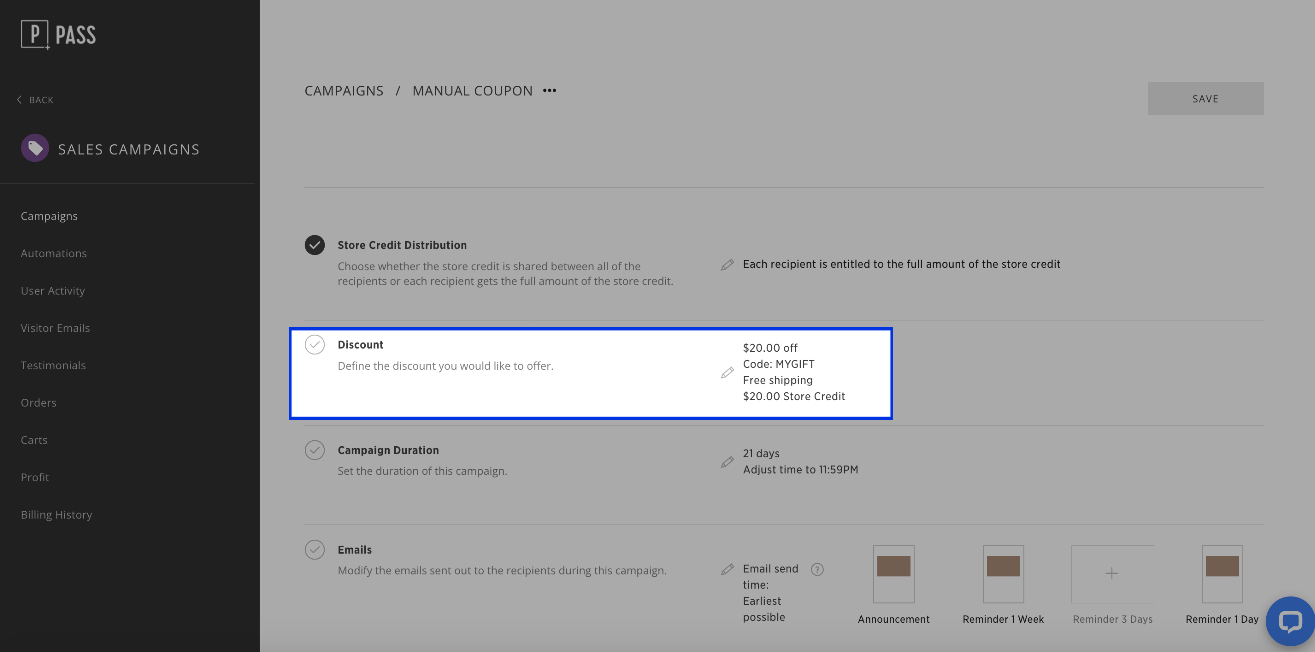
Here you can modify the discount, description, code, whether you want to apply free shipping, or have a minimum order amount for this coupon. In this section you can allow discount stacking or limit the coupon to a specific product. Click Apply when you are ready to save your changes.
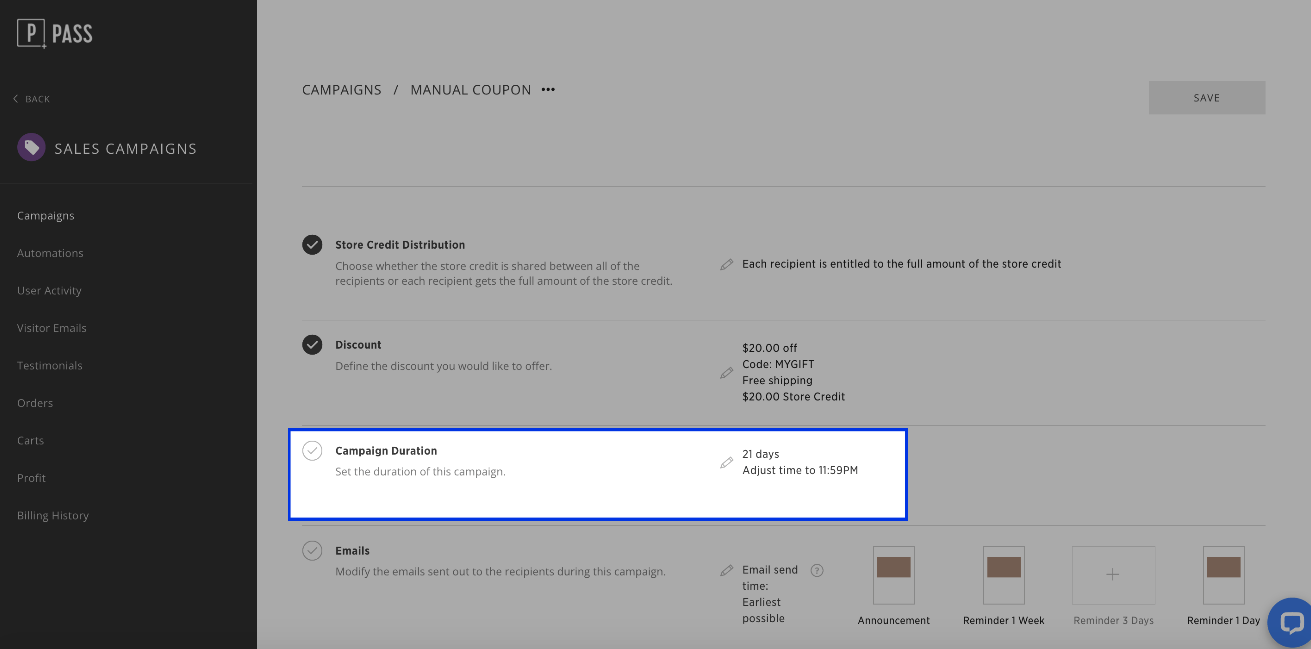
Next, adjust the campaign duration.
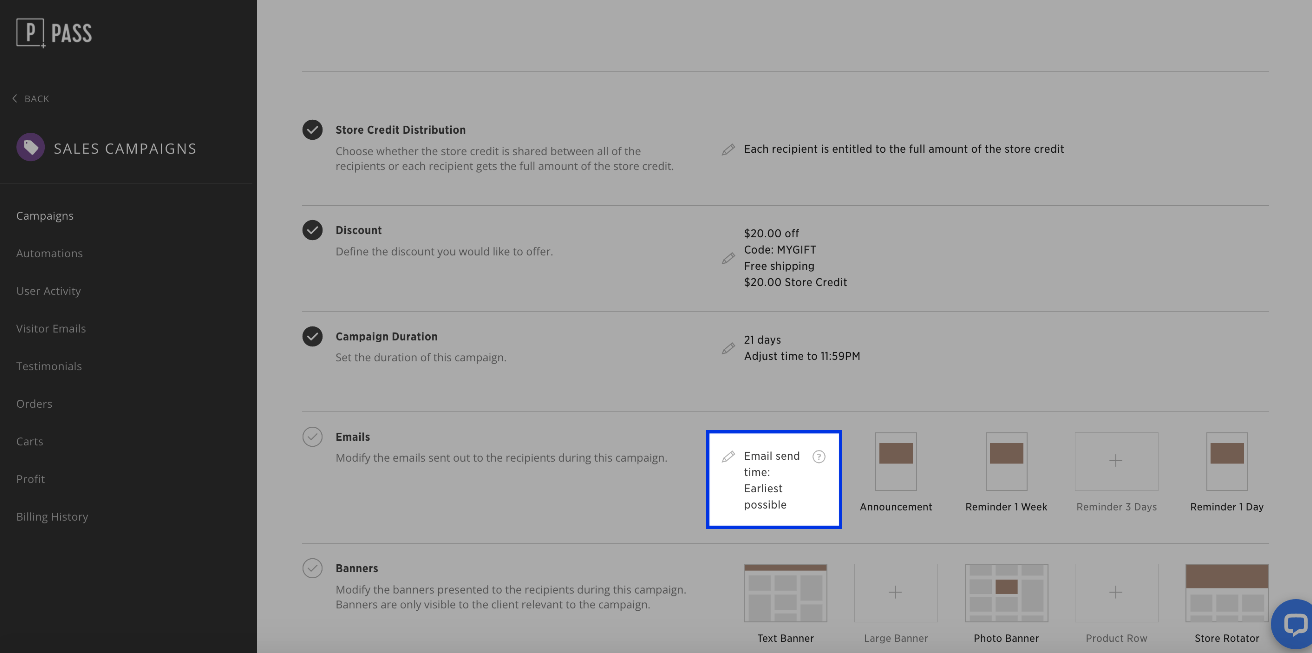
You can now modify the emails as part of your campaign. First adjust the trigger, if you would like to delay the announcement email and reminder emails. This will not delay the start of your campaign but only delay the email send time.
Now you can edit or delete any of the emails.
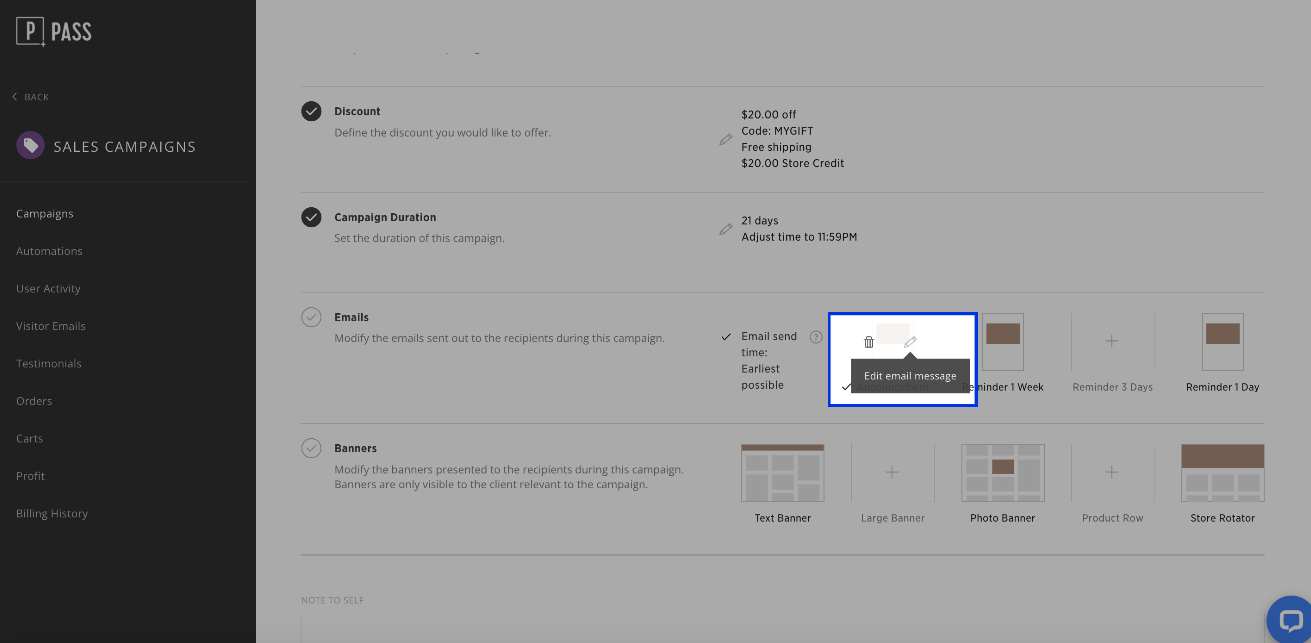
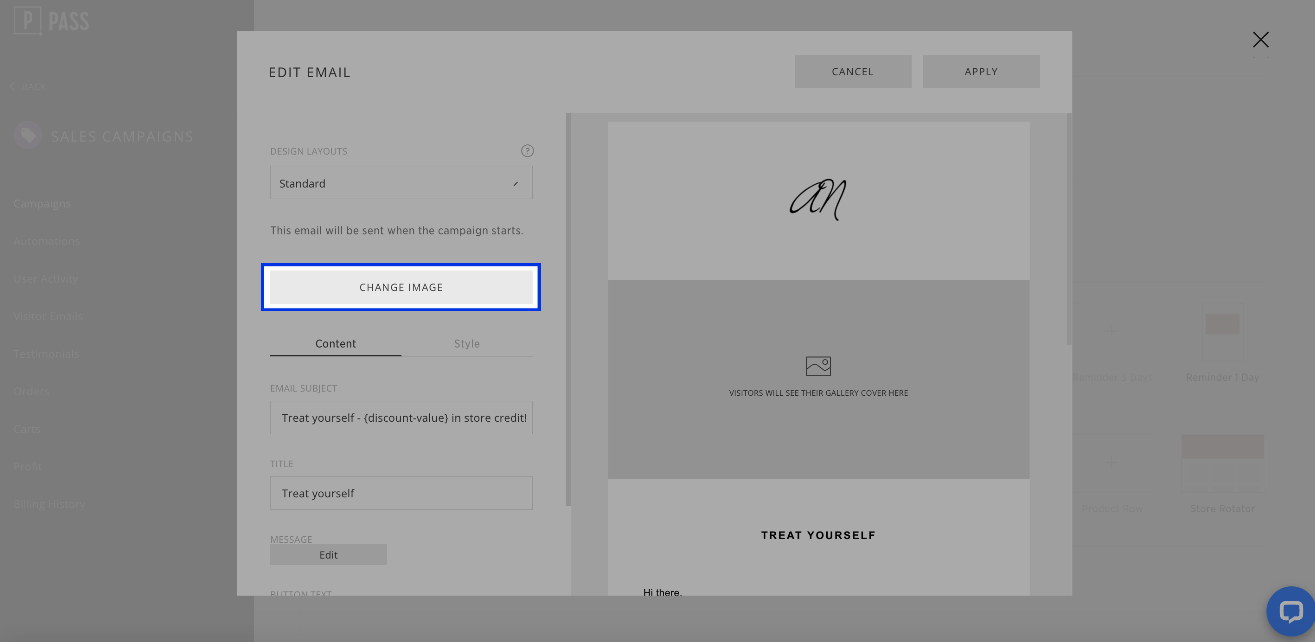
Editing emails is easy. Your announcement email will go out at the start of the campaign. You can also add email reminders before the expiration of the campaign. To start editing the email, begin by adjusting the banner image. Click Change Image.
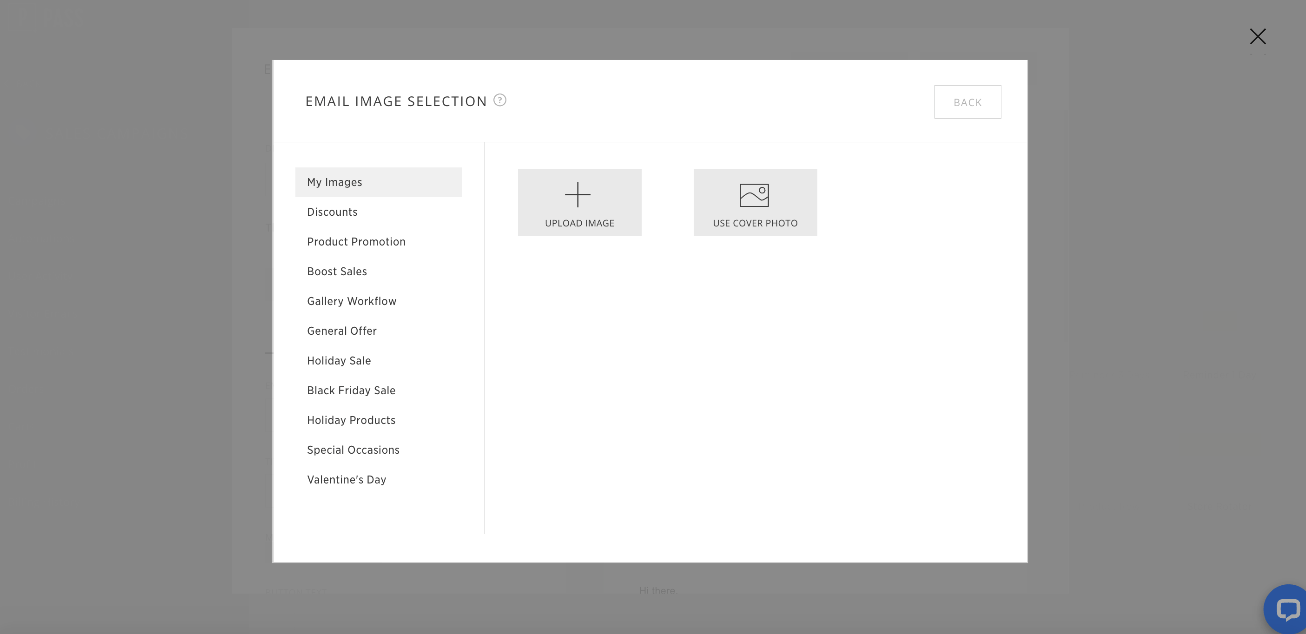
You can upload your own image, choose to use the cover photo of the gallery, or choose one of the pre-made images provided by Pass.
Once you choose your banner image, you can modify the email subject, message title, email message and button text. Once you have reviewed your text, click Apply to save your changes.
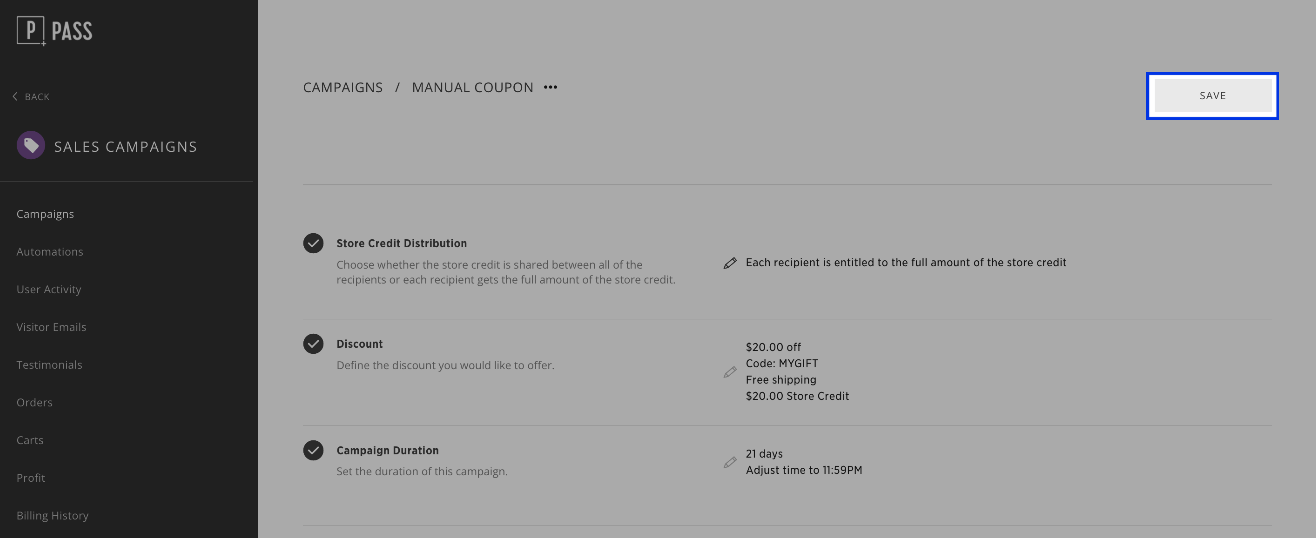
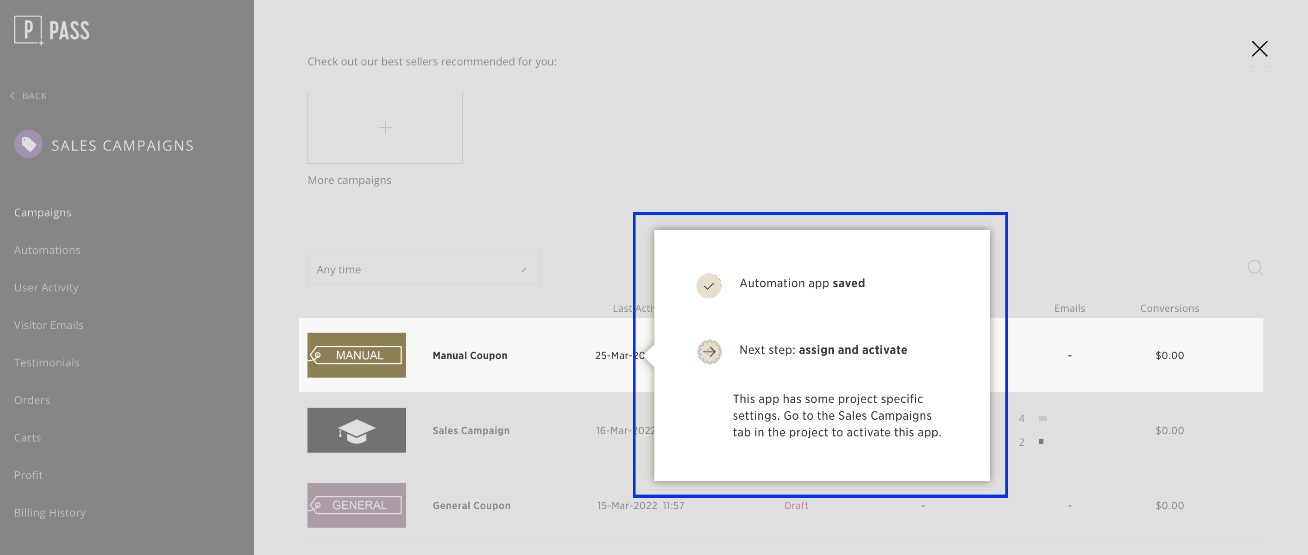
After you have reviewed and adjusted your campaign settings, click Save.
Assigning the campaign to Galleries
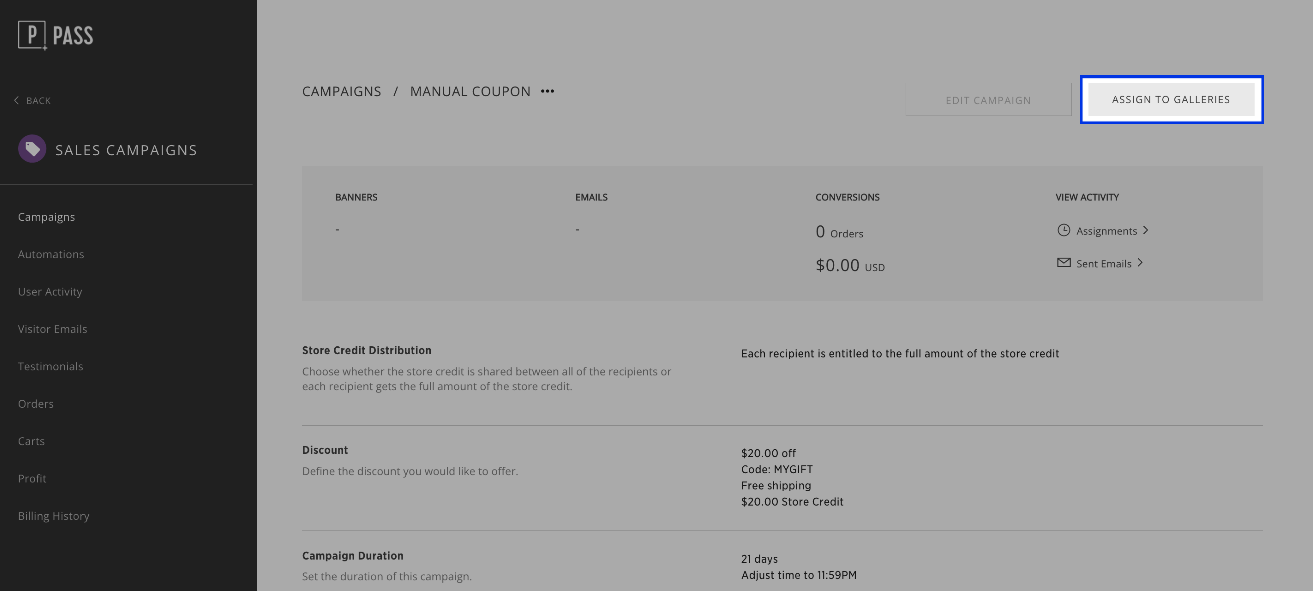
After you have created your Manual Coupon campaign, you can assign it to your galleries!
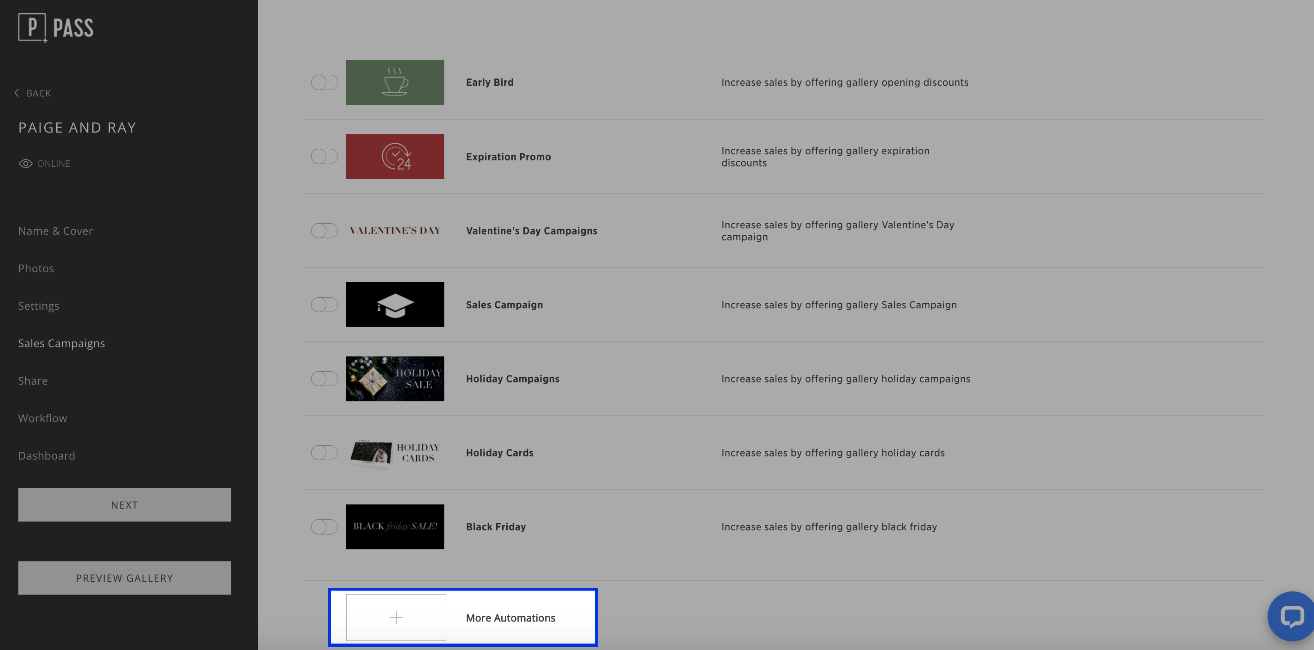
To apply to an individual gallery, go into your clients gallery > Sales Campaign tab and click on More Automations.
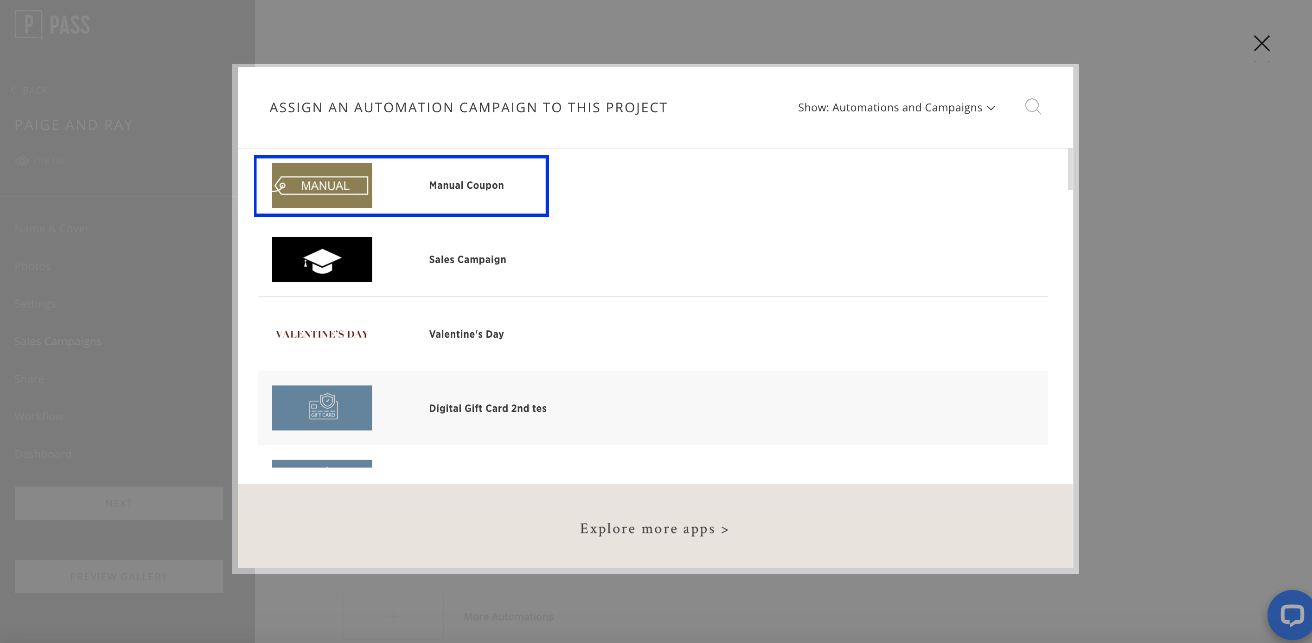
Select your campaign from the list of active campaigns.
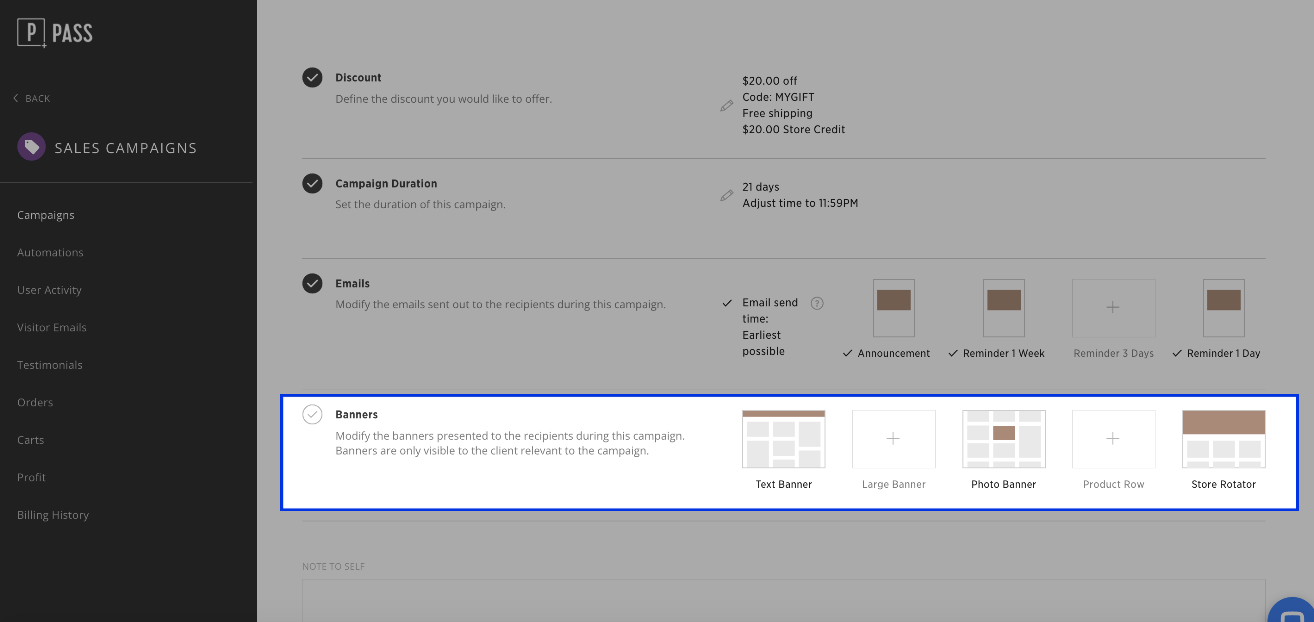
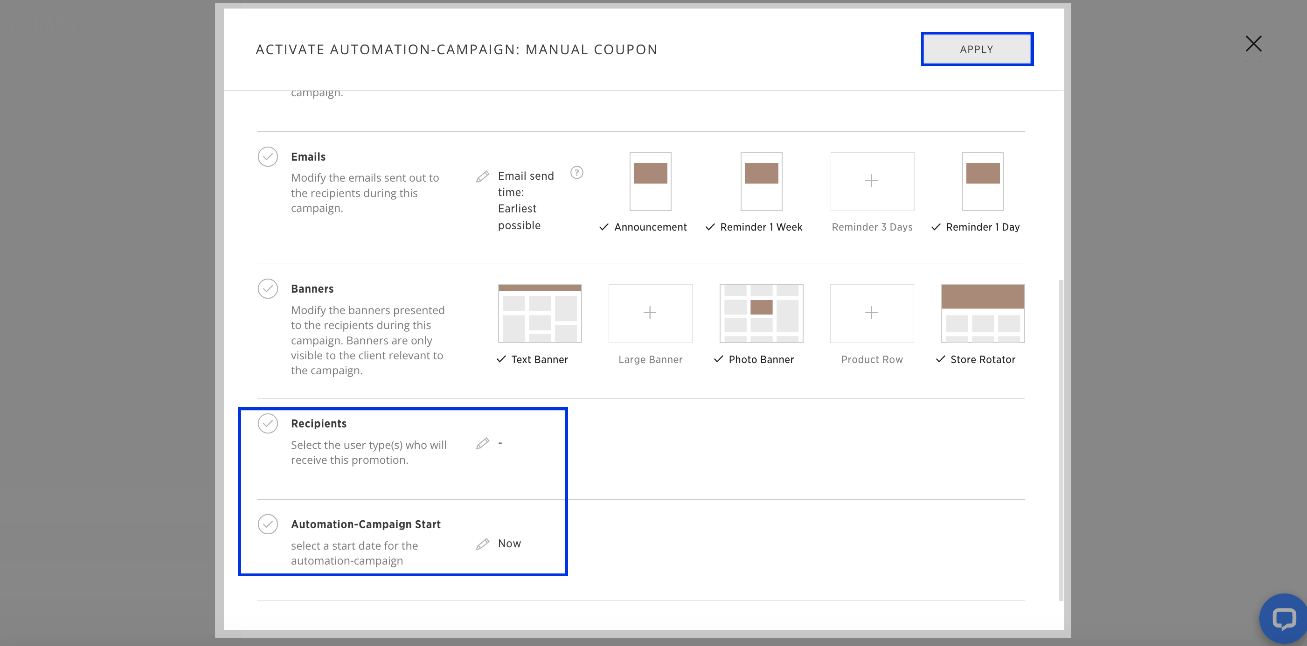
If needed, AFTER ASSIGNING THE CAMPAIGN TO A GALLERY, you can modify the individual settings of the campaign such as the Store Credit Distribution, Discount, Campaign Duration, Emails and Banners. Then select the recipients and the campaign start date. Click Apply when finished.
And that’s it! Now your campaign is assigned to your gallery!


